
Boonboomger morpher
- Kelton M

- Jan 31, 2025
- 3 min read
Updated: May 11, 2025
The project I've been working on is this morpher from Super Sentai Bakuage Sentai Boonboomger If you want any information from it click the link here: https://powerrangers.fandom.com/wiki/Bakuage_Sentai_Boonboomger
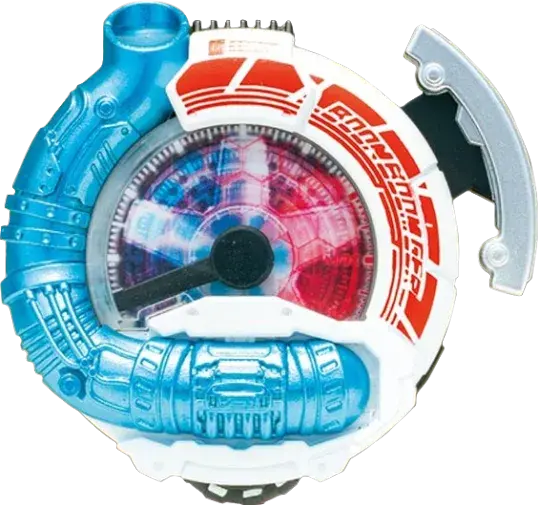
Now, the process looks easy, but it has been a great challenge so far. What I've done so far is the same process I used with my last projects, which is dissecting them into pieces and making them like charts or sorts.

Once I figured out the simple model, I realized I had made too many vertices. I decided to space them out further to make it into a low-poly model, deleting one vertex after the other.
When I finished the first part of the model, I made the mistake of extruding it multiple times without noticing it, so I went back and re-extruded, and it had to merge all the vertices. (below)

From there, I fixed my problem, and the first part of the model was done. What I did for the second part was the same formula I did for the first part, minus the merging processes, and it came out great as well. (below)

(Second part of the model)
Now that Both Parts of the model are extruded, the hard part was doing the muffler part of the Morpher. So what I did was make a vertex and extruded it to make the path of the muffler, then I turned on the curve modifier to make it know that it is curved. From there, I went into Geometry and set the Depth to 0.4m By doing that, I could bend the curve to whatever form I desired. What form did I add more verts inside of the muffler by pressing two of the verts and subdividing to make more vertices to give the muffler some curve, and move it back in place.
(The settings)


(The Muffler)

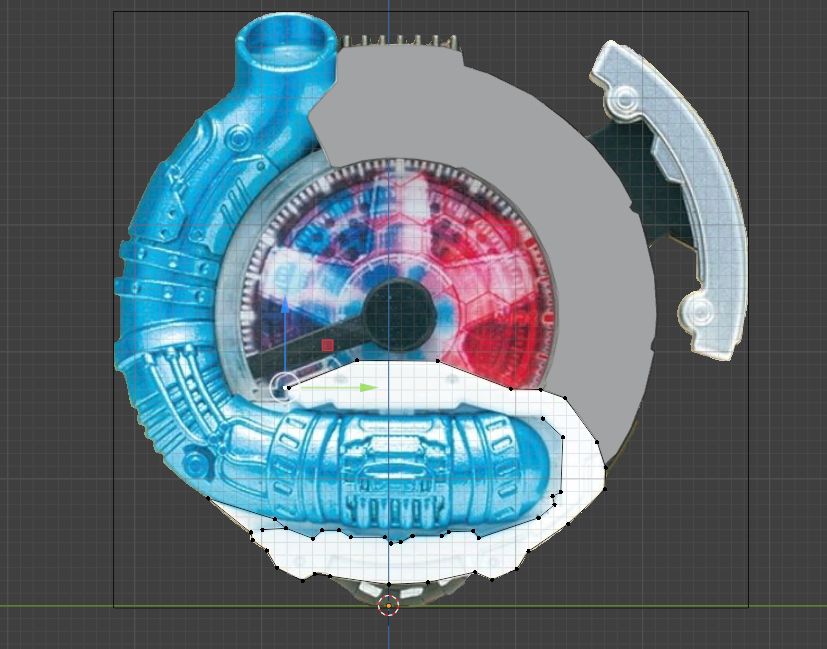
So I did the faceplate and the Ignition Trigger, modeled it out of section, and pulled it out from the sides using a top-down reference image. The purple lines are the blockout geometry, which I’ve carefully aligned over the reference to match the flow of the shape.
This blockout is flat but is ready to be extruded and shaped in 3D space. (BELOW)

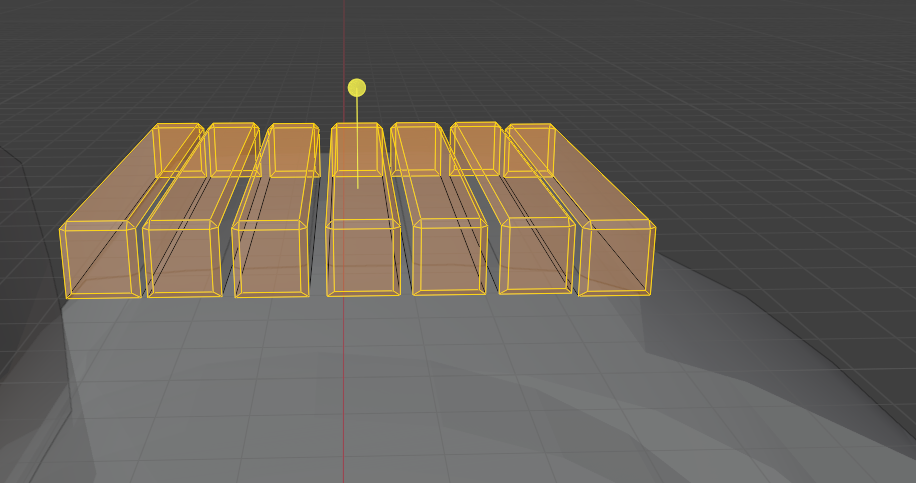
In this stage of my modeling project, I’m setting up simple extruded boxes for the top of the model. I began with a default cube in Blender, scaled it along the X and Y axes to create a rectangular box representing one segment. To speed up the process, I manually duplicated (Shift + D) to lay the blocks. This ensures consistent spacing between segments and keeps the proportions clean.
In this stage, I've constructed the base mesh for the housing of the morpher. The design features a basic cylindrical middle, so all I had to do was configure the back to make it fit the front piece. Then, afterwards, start the subdivision process of marking the seams with clean, subdivision-ready topology.


Finally, after completing the basic modeling of the Morpher, I moved on to one of the most satisfying stages — adding color and texture to bring the model to life. In Blender, I used a combination of Base Materials and a Texture Image to achieve a look that's faithful to the Morpher.
I started by assigning solid color materials to different parts of the model. This gave the Morpher its signature look with clean, bold colors. In Blender’s Shading workspace, I created several materials:
White for the outer frame.
Black for the Back of the Morpher.
Blue for the Muffler
Grey/Metallic for the smaller tech details.
When I was satisfied with the outcome, I uploaded the final touches on the morpher to Sketchfab for the showcase. While in Sketchfab, I adjusted properties like roughness and metallic to match the look of plastic and metal parts from the rmorpher. For example, the screen had a low roughness for a glossy finish, while the white shell had a slightly rougher, matte look. Using this blend of base materials for structure and a texture image for key visual detail made the model look both clean and authentic. It's a great workflow for combining stylized geometry with realistic touches, and I'm really happy with how it's shaping up! (Below)


Comments