
Creating Tanjiro Kamado Nichirin Blade
- Kelton M

- Jul 21, 2020
- 3 min read
Updated: Dec 4, 2020
So I wanted to try a different tutorial that I showed Hracha & Gerardo that I found on youtube for blender.

So far I'm learning different ways to make a katana but what I figured out you have to make it in sections but this is the current step for the blade.

to get the katana look I had to make the tip and merge the vertices together

from there, I had to bend the blade to the x-axis and I now have my katana blade

Now that the Blade is finished I'm now currently working on the Tsuba (Or Guard) of the blade

so this week I finished the guard (below)

so I noticed it was kinda big so I trimmed it down and gave it a diet and its now thin

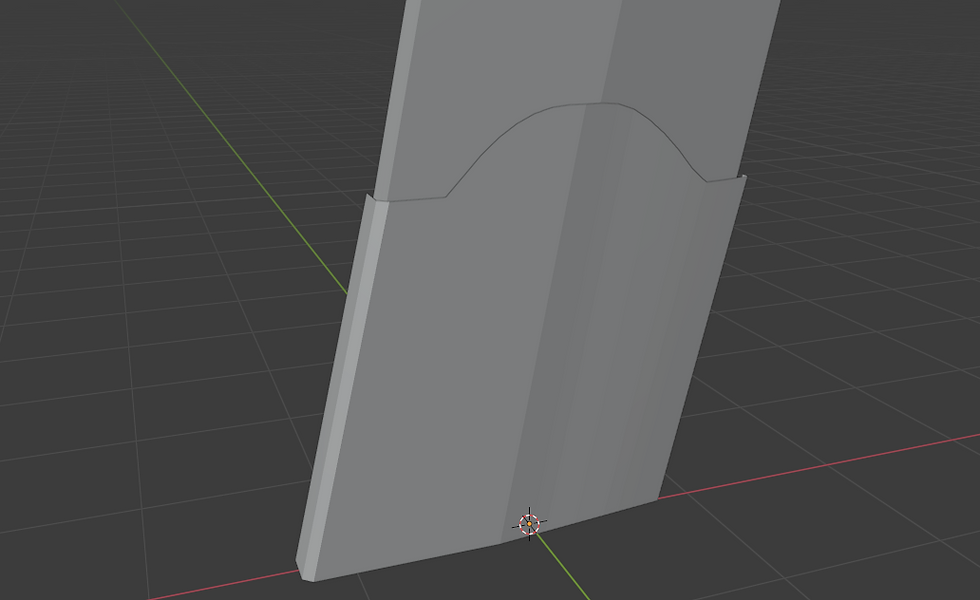
Now my next task was to make Habaki (Blade Holder), so I made a copy of the blade and from it.

So from making the duplicate I had to form it from the vertices point from proportional editing using the inverse square selection to bend it into shape.

but before I do that I had to cut and used the mirror function to make the exact copy of the holder.

Mirror it

done!

A little adjusting and all finished
So this week I had to figure out sizing the rest of the Hibaki and the guard that's to I can make the same shape as the guard, so far I did what I wanted to do!

here is the actual pic of it

after I got the shape right (thank god) I had to move the Hibaki up that's so the blade could fit in place

This week I finished Up the Hibaki and adjusted it to become separate and started on the handle. So I made a copy of the bottom of the Hibaki and extruded (stretched out the bottom) and made a handle.
Copy of the Hibaki:

Then i turned on Porptional Editing and bend the handle to form the katana handle and move it to place.
Proportional Editiing:

Extrude & Bend:

Put in place and snapped in place and connected to the guard:

this is the final result:

Next up I had to wrap the handle in a criss-cross formation , so far it's going smooth but now I had to make it in more than 1 part.

So I finished the top part with the second wrapping now its time for the bottom wrapping,
I used the same modifiers and added a subdivision modifier to make it more smooth.
Second Wrapping:

Modifiers:

Bottom wrapping:

so here's this week's progress, and I am super impressed with what I did so far on the handle.
So I did the middle wrapping and I had to do adjusting... ..adjusting and more ADJUSTING! (UGH) and guess what's more wrapping on the middle and on the top and bottom ends.
Before:

Currently :

Top :

Bottom:

Now I have to adjust more on the bottom and then add the cap! , but here is what I'm trying to go for.

So my process for the cap was fairly easy, all I did was turn on the mirror, Loop cut, select the faces, extrude, and deleted the faces after I extruded the square shape to make the cap.
Before:

side view 1:

solid mode:

Loop cut , Extrude and delete faces :

and here is the final result:

and here is the final render, all thought the handle couldn't bend here it is


Well, I'm back doing this blade again ..... now I COLOR IT!!


Comments